www.flickr.com

Nation Transformers 2011 History Makers

Thursday, December 22, 2011 Posted by Glenn 4 comments

Nation Transformers 2011 History Makers Philippines!


WOOOOOOOOOOOOOAH!
That was my UTTERLY MOST AMAZING, SUPERB, ANOINTED, BLESSED, OUTSTANDING Christian Conference I've ever attended! Woah! All of the superlative adjectives in the dictionary can't describe this Nation Transformers 2011.


(Nation Transformers Poster 12.21.11 Cuneta Astrodome)

For me, it is yet unparalleled. Well, I hope the next conference in December 2012 will be greater than this!

I want to share to you guys what happened before such Nation Transformers.


Our church just had an awesome, happy Christmas Party. But before I went to our church, I planned to buy a palabok sa bilao. P150.00 each bilao. I then bought two bilao for P300.00, and suddenly realized that that was too much and I had to pay for my Nation Transformers Ticket which costs P350.00 (inclusive of food and transportation ). I told myself that, "if no one in my church reminds me to pay for the ticket, then I won't pay, I won't come to Nation Transformers, and besides I already paid so much disbursement although God gave me an opportunity to once again cover a debut so that I can earn money. Unfortunately no one reminded me about such ticket. BUT, I was shocked that during the "eating time" in our church, they played the persuasion video of some actors and actresses in showbusiness. Woah! Thank God. So then I paid my ticket.


THANK YOU SO MUCH GOD!


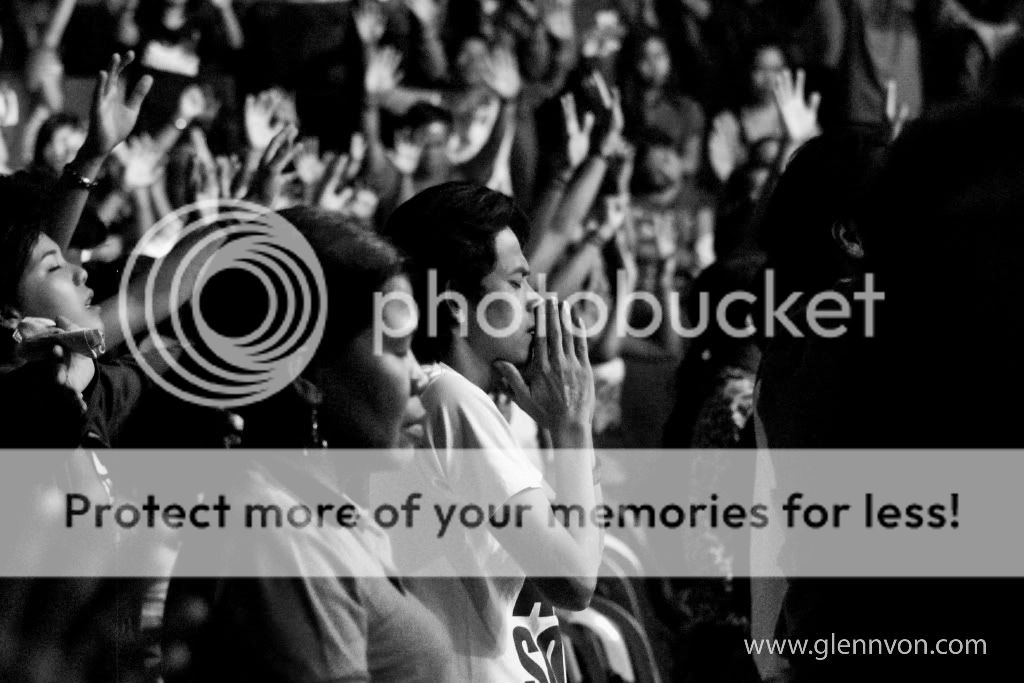
Well, I brought my camera, (1)18-55mm kit lens, (1)D40, (1)70-300mm tamron lens of my classmate. I prayed that God would help me in shooting during the conference, cause I'm merely a poor-wanna-be-not-talented-young-photographer slash a teenager with a dslr and I don't have a fast lens. Yeah, I have a 50mm f1.8 but I had to exchange it with my classmate. Ah anyways, I didn't know what to do at that moment, because I wanted to do both things: to cry out to God and worship him so much; and to shoot all the emotions of the people and all of happenings in cuneta astrodome. I think there were 5 photographers in cuneta including me, their cameras and lenses were very intimidating, I mean they didn't buoy me up. Oh my! They had their nice and highly tech cameras. While me, I only have my Nikon D40. :( Anyways, I hope in the next year, before the next conference, I already have my dream 35mm f1.8 lens! God give me scholarship this semester :P

Fast Forward: Next: At the end: Since I didn't bring my D40's extra battery, my shutter was not working for the battery was very low, so then I putted my camera in my bag and began to focus very hard in worshiping my God while listening to a very beautiful Gen Faythe <3 :PPP hehehe.
I cried so hard even to the extent my throat was aching. Good thing it didn't bleed. xD. Going on, I cried very hard and shouted as load as I could: "YEAAAAAAAAAAAAAAAAAAAAAAAH!!!! LORDDDDDDDDDDDDDDDDD! YEAAAAAAAAAAA! AMEN!" and then Jumped! and Jumped! and Jumped as high as I could! I kneeled down and cried again. I prayed for everyone in this earth, for my family, for the poor that I see everyday. :(

I WILL NEVER FORGET THIS HAPPENING IN MY ENTIRE LIFE!

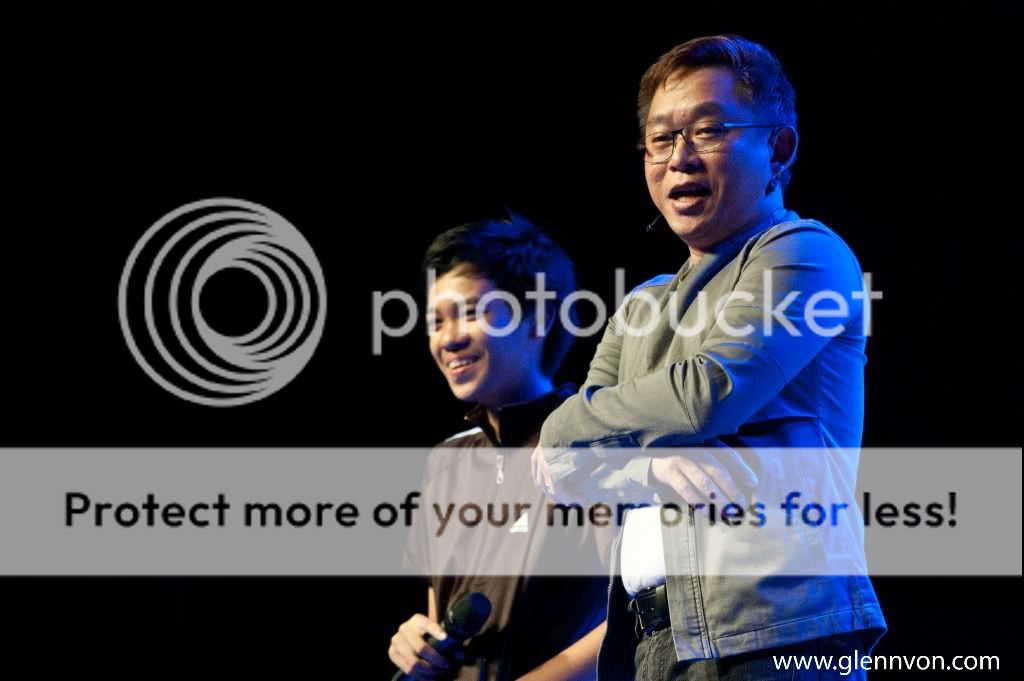
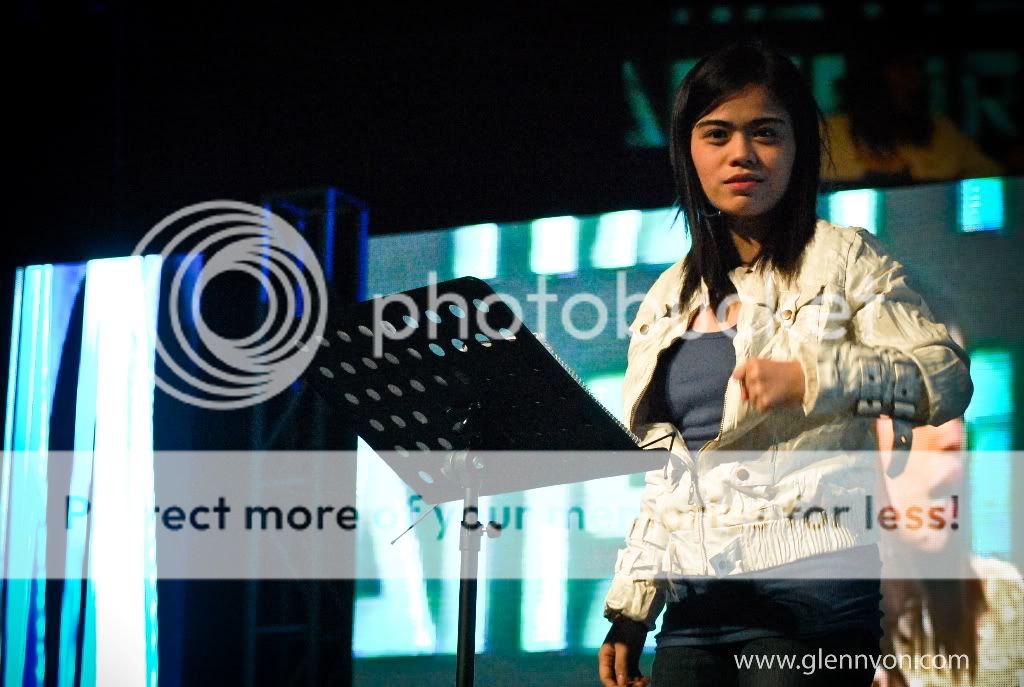
By the way, if you want to see some of my shots, here they are, just click 'em if you wanna enlarge em! :


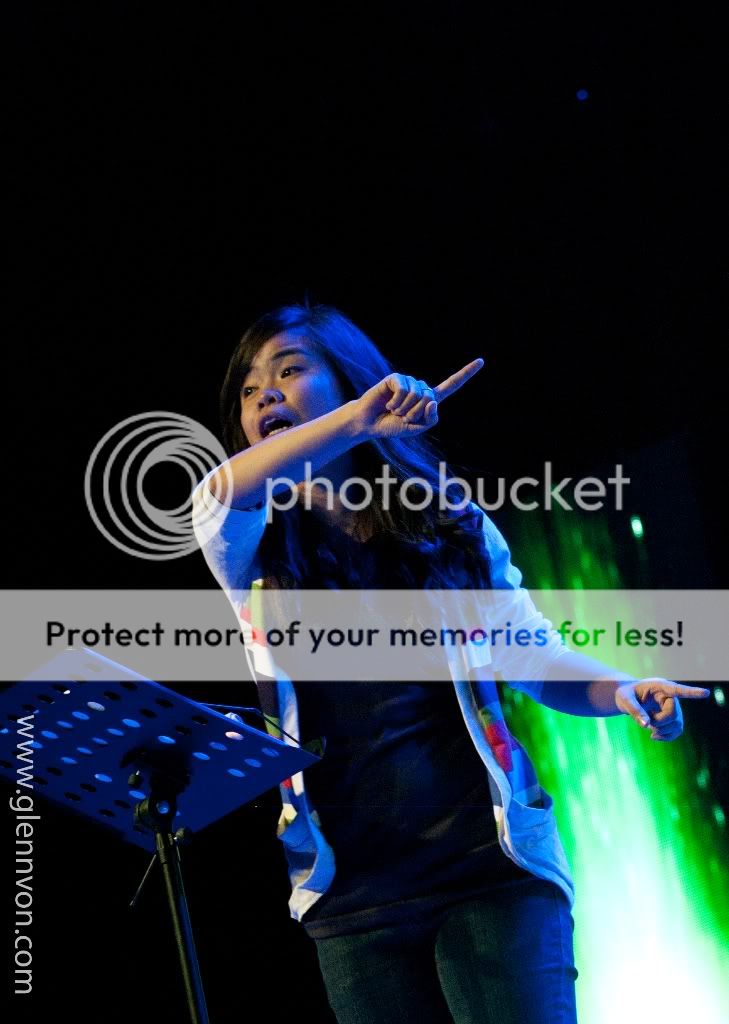
And Last, here is the most beautiful preacher in the universe. :PPP

WAIT FOR OTHER PHOTOS. I'LL UPLOAD EM ON MY FACEBOOK LATER!

"HISTORY JUST HAPPENED!!!!!!!!!!!! History Makers Conference 'Nation Transformers' was an EXPLOSION!!!!!! Dumagundong ang Cuneta! PAMBIHIRANG 2012 TO!!!!! Win our nation through prayer, dream, cell and right character. All glory to God! Great harvest is coming! Thank you everyone! Thank you God!" - Jamey Keeneth Santiago

Sharing is so Easy:
StumpleUpon DiggIt! Del.icio.us Blinklist Yahoo Furl Technorati Simpy Spurl Reddit Google Twitter FaceBook

Labels: ,

How to take moon pictures

Wednesday, December 21, 2011 Posted by Glenn 0 comments

How to take moon pictures
by: Glenn Posadas

Well, first of all, I recommend you to use DSLR, SLR. These Single-Lens-Reflex Cameras are widely used by professionals because they can be used in any field of photography. Their lens can be changed. Anyways, when taking moon pictures, telephoto lenses s

hould be used! Such as the following:

  • 70-200mm
(click the photo to enlarge. Blacks are for Nikon, White for Canon)

Any kind of 70-200mm will do. 70-200mm with or without image stabilizer/VR. Of course its better to use with such IS/VR.

OR, you can use longer telephoto lens! That will be so good for you!

As for me, since I'm merely a poor-wanna-be-not-talented-young-photographer slash a teenager with a dslr, I use 70-300mm Tamron Lens.

So, if you're ready now, take your gears, put your lens into your camera now, and bring a tripod.
Note: TRIPOD is used if your lens has no IS/VR.

Question: What if I don't have both?
Answer: Well, in that case, you should adjust your shutter speed faster.

I woke up early today because I have to attend a Christian Conference, a great conference woah!!! And then, suddenly, as I was walking, I saw the moon! Woah! Beautiful moon, it was around 6:00AM. Good thing I brought my camera and my classmate's tamron lens. So I took a photo of the moon.

Your settings should be:
1. Fast shutter speed - Around 1/200th or greater. This is to avoid blur.
2. Large Opening of Aperture - I think I usually use f11.
3. ISO - 200 or lower. If your hands always shake and you always destroy your photo, you should sacrifice your ISO. What I mean is you should get your ISO higher because you will be adjusting your shutter speed much faster.

Note: The greater the number of your ISO, the more grains or noise will appear in your photo.

So, after we take a photo of the moon using the longest focal length of our lens, we can now import our photos into Adobe Lightroom, or you can just use photoshop if you're pro with it. :P


And then, Crop your photo, since I'm again a merely poor-wanna-be-not-talented-young-photographer slash a teenager with a dslr, I just crop my photo to make the subject larger. :) So therefore, if you have a great camera/latest camera, then you are so blessed, it means you can have a high resolution photo. Going on, after cropping, adjust your exposure if needed, the clarity, hue, saturation.

And lastly, the most important 'thang' is adjusting the crispiness xD a.k.a sharpness of our photo, just like this:
Note: Adding sharpness in our photo is adding noise at the same time, that's why I recommended you a while ago to use less number of ISO so that you can add more sharpness without adding more grains or noise.


So, that's all! You can now export your picture and share it to the world!

Here are my other photos:
click em to enlarge


sharing is sexy, so share it!

Sharing is so Easy:
StumpleUpon DiggIt! Del.icio.us Blinklist Yahoo Furl Technorati Simpy Spurl Reddit Google Twitter FaceBook

Manual PCB Etching Tutorial

Tuesday, December 20, 2011 Posted by Glenn 0 comments

Manual PCB(non-photoresist) Etching Tutorial (and building circuit)
by Glenn Posadas :PPP

Since its Christmas Break, we have no classes and I can't help my classmates, so I decided to make a tutorial thru this website.
Let us begin, shall we?

FIRST, WE NEED THESE MATERIALS:
(click the image to enlarge)


1. Ferric Chloride - Any type of Ferric Chloride. Liquid or Solid will do. I use liquid over the granules because it removes the copper in my pcb slower. One of the advantages of this liquid Ferric Chloride is that (like what I've said a while ago) it dissolves the copper slower, and so we can easily witness how the Ferric Chloride removes our Mark(lines made with pentel pen). If we use the granules, it will dissolve the copper faster, thus we might not notice that our lines are already gone.


2. Mini Drill - Use for making holes in our PCB (captain obvious eh?)

3. Masking Tape(paper tape)- Use for covering extra spaces in our PCB.

4. Marker - Any type of marker will do, as long as the tip of your marker is small. Well, I prefer to use the BIC. See the photo below. Or you might want to use the extra Fine DVD Marker.


5. PCB (of course)

6. Tupperware

7. Alcohol - Any type of alcohol will do. Isopropyl, ethyl, or whatever. :P We will use this in removing our marks.

8. Rag

9. Cell Phone - or any type of music source. :P hehehe

After collecting such materials, we can now etch our PCB. By the way, let us first make holes in our pcb and then route it manually using our makers.

This is my drilled PCB(front view)


Next step:
"POUR SOME FERRIC CHLORIDE BABY!!!"

After pouring some ferric chloride, throw your pcb into the tupper ware baby! hahaha!~
AND SHAKE IT THOROUGHLY. If you won't shake it, then, nothing will happen I suppose. The ferric chloride won't dissolve your copper.


OOPS! Don't watch out! cause your marks might disappeared and so will the copper below such lines. In this case, get your pcb. Ferric Chloride won't kill you if you touch it, unless you put your finger into your mouth. lols. Put on some marks again and then throw it again into the tupperware xD. Don't forget to use your rag instead of your shirt. xD


And after doing this step until all coppers without marks are gone, put some alcohol into your rag then rub it on your pcb.


(This is my design after etching. Half of the marks are gone :P thanks to isopropyl)
WE'RE ALMOST THERE!~ woohoo

Okay, finally we can now solder the ICs, and etc.. into our pcb

First, we need these materials in soldering:

1. Soldering Iron

2. Soldering Paste

3. Soldering ___ -lol I forgot the yellow thing in the photo.

4. Soldering Pb - Soldering Lead. There are two sizes of lead I use. Well, I prefer the smaller one.


OOPS! By the way, You should have the STAND! oh yeah! Soldering Iron Stand.


AFTER ALL THIS STEPS! TADAAAAAAAAAAAAAAAAAAAAAN~~! HERE IS MY CIRCUIT!
ITS WORKING! :P No errors.

OH YEA~ ITS DONE!

Note: If your circuit has errors, then you should check:
1. The routing of your circuit (lol, I experienced it a while ago. And I was like fufufufufufuf )
2. The leads. (check em out nigga, you should clean your circuit)
3. The ICs and other materials.
4. The Power Source


Meanwhile...
My hand

OMG! WHAT HAVE I DONE? :PPPPP


That's all peeepeeeepepepepepeps~~~~!!!
-glenn

Don't Forget to bookmark this post!
Sharing is easy and sexy baby! Click LIKE!

Sharing is so Easy:
StumpleUpon DiggIt! Del.icio.us Blinklist Yahoo Furl Technorati Simpy Spurl Reddit Google Twitter FaceBook

Labels: ,