www.flickr.com
Showing posts with label photography tutorials. Show all posts

Improving my photoshop skills

Monday, April 1, 2013 Posted by Glenn 0 comments

First of all, I want to say PLDT myDSL SUCKSSSS!!!!! IT SUCKSSS!!!
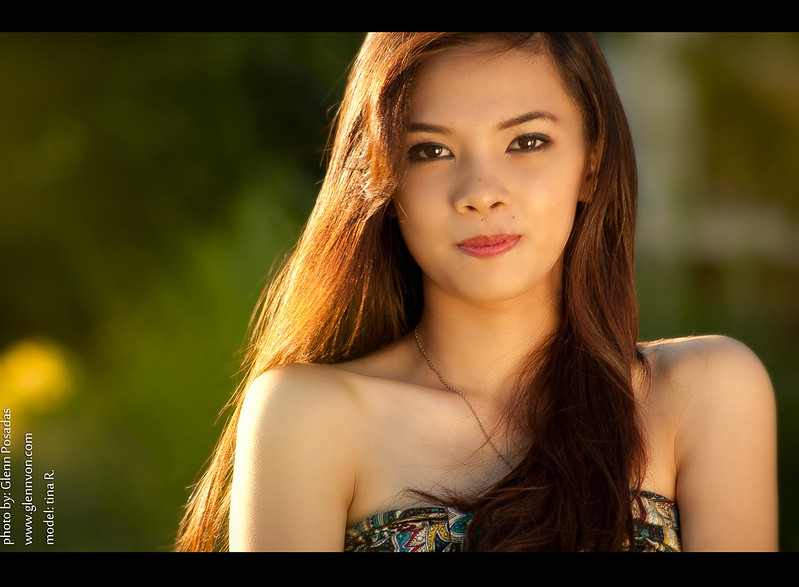
For almost 1 week til now, we have no internet connection. So last day, I tried watching a movie (skyfall) but I didn't finish, wasn't able rather, it because I really got bored! So I browsed some images, some raw photos from my photoshoot folder and bam!~ I found a raw photo of tina rivera. Anyways, I will try to have a photoshoot once again (my subject will be my girlfriend. yeeeman, yes v2.0) this week or next.


The raw photo is really not so nice. :)
Tina has so many strands of hair in her face, and also the raw photo is somewhat blur. I sharpened the photo about 150%. XD. I don't know if I am correct. I sharpened it using Lightroom and during the exporting of such picture, I sharpened it once again.


Sharing is so Easy:
StumpleUpon DiggIt! Del.icio.us Blinklist Yahoo Furl Technorati Simpy Spurl Reddit Google Twitter FaceBook

My Beloved

Monday, November 5, 2012 Posted by Glenn 3 comments

Hi, I don't know if the title of this post is appropriate. hehehe.
My girlfriend was wondering kung bakit wala siyang picture sa blog ko.
Ang sabi ko naman: "babe, ano ka ba? Privacy chuva issue kasi kaya ayaw kitang iblog. Kahit idescribe o yung pictures mo."

Sus, nagseselos ang babe ko. hehehe
Anyway, Sa ganda nya kasi, baka LALONG dumami ang mga stalkers nitong chix ko. :) Haaay, kaexcite naman yung kasal namin,. kaso mga 2 or 3 years pa. :3.

Tagal ko kasi grumaduate.
4th year palang ako. e 5 years ang course ko. taeng Engineering yan oh!!!
I love you mahal ko!!!


Of course, photo by yours truly. hihihi! :) Shot @ somewhere kung saan ko isinagawa ang first prenuptial shoot ko. :P BLEHHH.
Napakaganda ng mahal ko dito. hehehe. Sharp eyes, plus the bokeh, plus the orangy color I think. sarap! ^_^ I mean sarap ng bokeh! I used 55-200mm VR here. f5.6 I think, 1/250 shutter speed, 400 ISO.

Sharing is so Easy:
StumpleUpon DiggIt! Del.icio.us Blinklist Yahoo Furl Technorati Simpy Spurl Reddit Google Twitter FaceBook

My First Prenuptial Shoot

Saturday, November 3, 2012 Posted by Glenn 0 comments

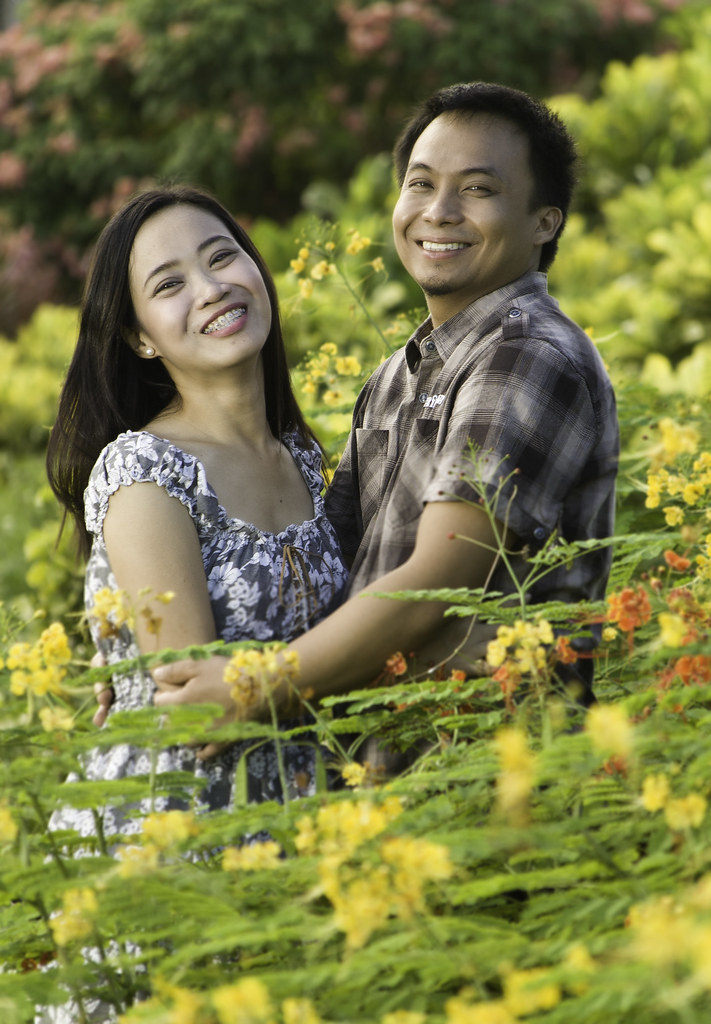
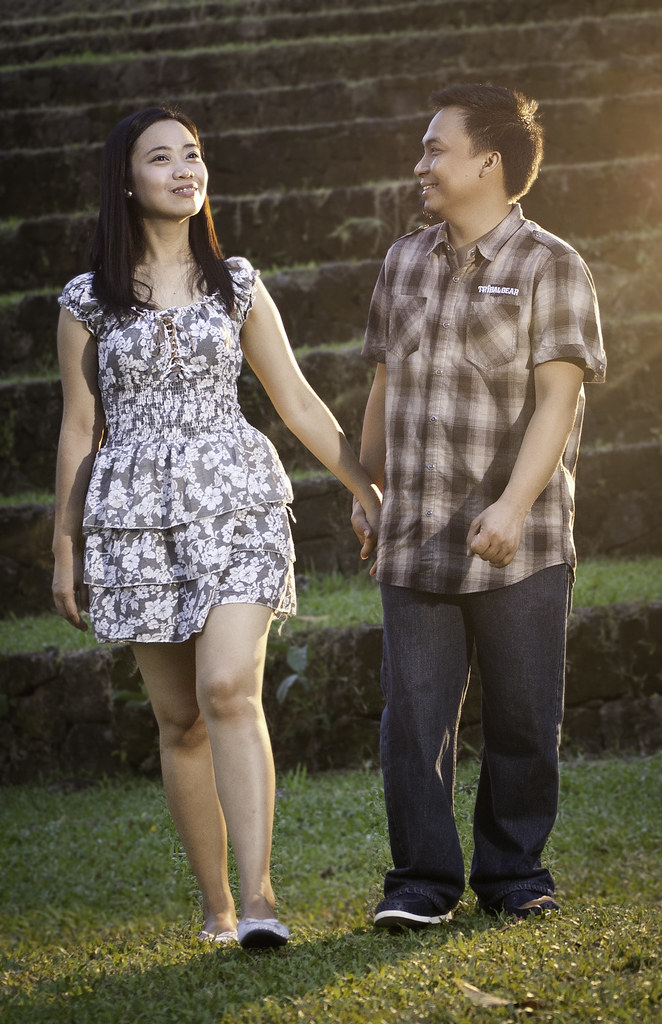
As I promised, here are the other photos ;)
Next Time, I will share my experiences and the techniques I used in this shoot. so subscribe! :)


MY FAVORITE ^    :)


Their Wedding Ring :) hehe

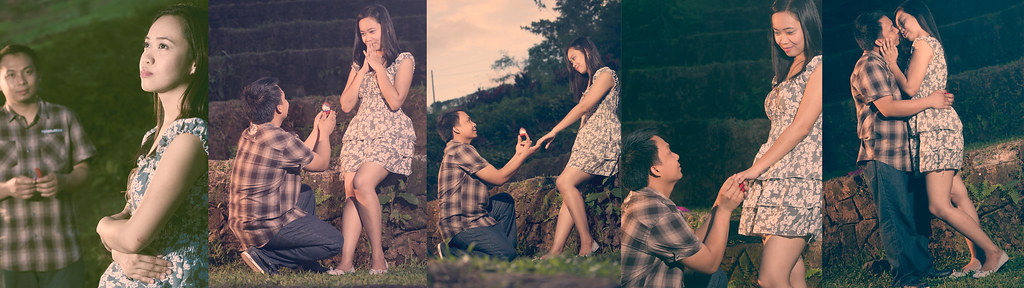
AND LASTLY, the timeline. :D :P BLEHHH


additional tags: my first prenuptial shoot, prenup shoot, prenuptial, prenuptial for the first time, prenuptial techniques, techniques in covering wedding, wedding prenuptial, prenuptial couples, cheap prenup shoot for couples, couples shoot for cheap, cheap shoot for couples

Sharing is so Easy:
StumpleUpon DiggIt! Del.icio.us Blinklist Yahoo Furl Technorati Simpy Spurl Reddit Google Twitter FaceBook

Portrait Photography Tips: Use the sky as your background

Thursday, October 25, 2012 Posted by Glenn 0 comments

Hi, Last week, I was busy doing my microcontroller project, although Im still on sem break, I just want to learn more things about arduino microcontroller. Anyway, I had to buy 2pcs of CMOS batter 1.5v and make them in series to have a 3volts source for my project. So I needed to go to SM North Edsa, since I have to go to that particular area, I sent a message to my friend ,ehla V. :)) I asked her if she wants to be my subject, fortunately she said sure.

Going on, when I was still in SM, the rain suddenly fell. Geeezzz, and there was no even a bit of sunlight. So what now? I was quite certain that Ehla would like to cancel our shoot just like I did. But when I arrived in UP Diliman, luckily there was no sign of rainfall. >.< So we continued the 2 hour shoot even if I hated it because there was no sunlight.

Her friend suggested to me to try a different angle. To try a worm's eye view. So I placed my flash (with a diffuser, umbrella shoot thru to be specific) beside me, I assume I was 1 meter away from her, and then fired a couple of shots.

BAM! Here's the output. haha. LOL. Of course I developed such photo under the LightRoom Adobe as well as in Photoshop cs5


additional tags:  Use the sky as your background; photography tips; photography tutorials; another photography tips; another photography tutoerialsl; another portraiture tutorialsl; another photography; just another photography tutorials; portrait tips; tips in photography; sky in photography; model using sky as background; outdoor photoshoot; on location photoshoot; on location photography

Sharing is so Easy:
StumpleUpon DiggIt! Del.icio.us Blinklist Yahoo Furl Technorati Simpy Spurl Reddit Google Twitter FaceBook

How to take moon pictures

Wednesday, December 21, 2011 Posted by Glenn 0 comments

How to take moon pictures
by: Glenn Posadas

Well, first of all, I recommend you to use DSLR, SLR. These Single-Lens-Reflex Cameras are widely used by professionals because they can be used in any field of photography. Their lens can be changed. Anyways, when taking moon pictures, telephoto lenses s

hould be used! Such as the following:

  • 70-200mm
(click the photo to enlarge. Blacks are for Nikon, White for Canon)

Any kind of 70-200mm will do. 70-200mm with or without image stabilizer/VR. Of course its better to use with such IS/VR.

OR, you can use longer telephoto lens! That will be so good for you!

As for me, since I'm merely a poor-wanna-be-not-talented-young-photographer slash a teenager with a dslr, I use 70-300mm Tamron Lens.

So, if you're ready now, take your gears, put your lens into your camera now, and bring a tripod.
Note: TRIPOD is used if your lens has no IS/VR.

Question: What if I don't have both?
Answer: Well, in that case, you should adjust your shutter speed faster.

I woke up early today because I have to attend a Christian Conference, a great conference woah!!! And then, suddenly, as I was walking, I saw the moon! Woah! Beautiful moon, it was around 6:00AM. Good thing I brought my camera and my classmate's tamron lens. So I took a photo of the moon.

Your settings should be:
1. Fast shutter speed - Around 1/200th or greater. This is to avoid blur.
2. Large Opening of Aperture - I think I usually use f11.
3. ISO - 200 or lower. If your hands always shake and you always destroy your photo, you should sacrifice your ISO. What I mean is you should get your ISO higher because you will be adjusting your shutter speed much faster.

Note: The greater the number of your ISO, the more grains or noise will appear in your photo.

So, after we take a photo of the moon using the longest focal length of our lens, we can now import our photos into Adobe Lightroom, or you can just use photoshop if you're pro with it. :P


And then, Crop your photo, since I'm again a merely poor-wanna-be-not-talented-young-photographer slash a teenager with a dslr, I just crop my photo to make the subject larger. :) So therefore, if you have a great camera/latest camera, then you are so blessed, it means you can have a high resolution photo. Going on, after cropping, adjust your exposure if needed, the clarity, hue, saturation.

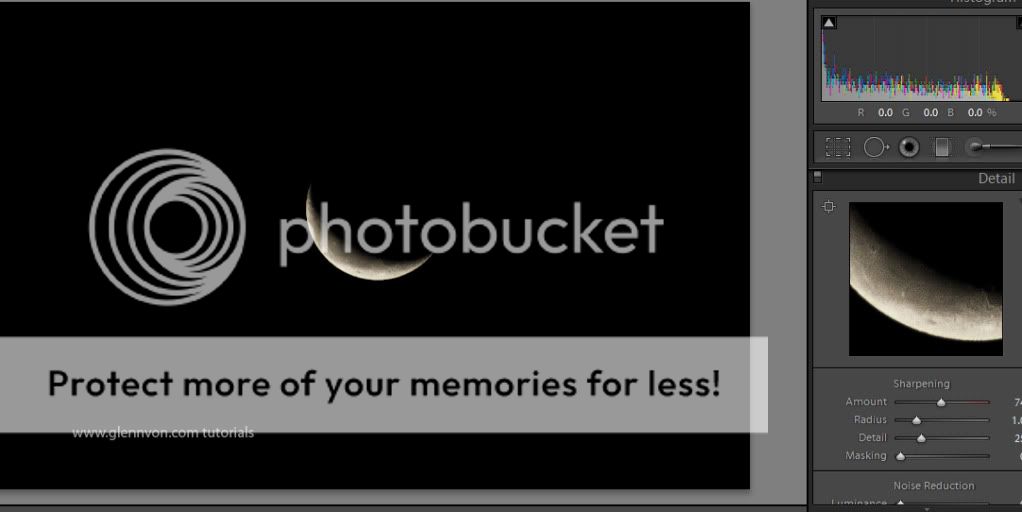
And lastly, the most important 'thang' is adjusting the crispiness xD a.k.a sharpness of our photo, just like this:
Note: Adding sharpness in our photo is adding noise at the same time, that's why I recommended you a while ago to use less number of ISO so that you can add more sharpness without adding more grains or noise.


So, that's all! You can now export your picture and share it to the world!

Here are my other photos:
click em to enlarge


sharing is sexy, so share it!
Sharing is so Easy:
StumpleUpon DiggIt! Del.icio.us Blinklist Yahoo Furl Technorati Simpy Spurl Reddit Google Twitter FaceBook

Low Key Portrait Test

Monday, May 2, 2011 Posted by Glenn 1 comments

Okay guys! Here's my new Entry. I tried learning about shooting Low Key Portraits. Low Key Photos are very attractive, it gives out emotion to the viewers. Now, when taking low key photos, there are 3 ways to achieve such nice effect. These are:

1. Shoot with a Black Backdrop/background and with a dark room
2. Shoot with one light and make the opening of your aperture smaller.
3. Adjust or Post Process with Photoshop or Lightroom

My model in this photo is Carla. :D. She's ugly. Joke. :)))).
She does no smoke. I only put a fire in that cigarette and took a hit to set it up. My background here is newpapers. :)

Number of lights used: 1 speedlight
Aperture: f11
shutter s: 1/200th
Iso: 200

so here is the BEFORE photo:
(by the way, I followed the 3 ways lol but without dark bg)

Before


and after some lil process...


AFTER


thanks guys,

glenn

Sharing is so Easy:
StumpleUpon DiggIt! Del.icio.us Blinklist Yahoo Furl Technorati Simpy Spurl Reddit Google Twitter FaceBook

How to take photos of fireworks

Monday, April 18, 2011 Posted by Glenn 2 comments

How to take photos of fireworks easily?

Here's what you need:

1. PATIENCE - Why? All photographers have patience and all aspiring photographers should have such virtue. Ok, if you don't have patience, then quit. haha. Try this: Quantity over Quality. Trials and Errors. When I'm shooting fireworks here in our subdivision, darn, so many wires! How can I even get a nice photo if I don't have a terrace, our house has no second floor and another problem is what I've mentioned earlier, the $!@$!@$!@ Wires. haha! So if you have no stable place to shoot fireworks, you need this virtue. I recommend shooting in Mall of Asia every Friday Nights(correct me if I am right. lol). You don't need to exert much patience there, you just need time.

2. TRIPOD - Why? Of course, you cannot draw nicely using a pencil without a sharpener.

3. CAMERA w/ full control of Shutter speed/Aperture - Why? Ask the moon, and the sun will answer you. Joke. :) haha. You cannot record the movement of the fireworks if you only have a point and shoot camera.

All of the requirements above are really necessary.

Here is my technique since in my place, there are many electrical wires of Meralco, I run from place to place. :) I set my ISO to 200 (if your camera has an ISO of 100, set it to 100). And then calibrate your shutter speed to 1/5 to 10 seconds I think. and make your aperture smaller so that your shutter speed and your aperture will be balanced as well as the light.

Here are my sample photos during the entrance of 2011.

That's All People!

Sharing is so Easy:
StumpleUpon DiggIt! Del.icio.us Blinklist Yahoo Furl Technorati Simpy Spurl Reddit Google Twitter FaceBook