Manual PCB Etching Tutorial
Tuesday, December 20, 2011
Manual PCB(non-photoresist) Etching Tutorial (and building circuit)
by Glenn Posadas :PPP
Since its Christmas Break, we have no classes and I can't help my classmates, so I decided to make a tutorial thru this website.
Let us begin, shall we?
FIRST, WE NEED THESE MATERIALS:
(click the image to enlarge)

1. Ferric Chloride - Any type of Ferric Chloride. Liquid or Solid will do. I use liquid over the granules because it removes the copper in my pcb slower. One of the advantages of this liquid Ferric Chloride is that (like what I've said a while ago) it dissolves the copper slower, and so we can easily witness how the Ferric Chloride removes our Mark(lines made with pentel pen). If we use the granules, it will dissolve the copper faster, thus we might not notice that our lines are already gone.

2. Mini Drill - Use for making holes in our PCB (captain obvious eh?)
3. Masking Tape(paper tape)- Use for covering extra spaces in our PCB.
4. Marker - Any type of marker will do, as long as the tip of your marker is small. Well, I prefer to use the BIC. See the photo below. Or you might want to use the extra Fine DVD Marker.

5. PCB (of course)
6. Tupperware
7. Alcohol - Any type of alcohol will do. Isopropyl, ethyl, or whatever. :P We will use this in removing our marks.
8. Rag
9. Cell Phone - or any type of music source. :P hehehe
After collecting such materials, we can now etch our PCB. By the way, let us first make holes in our pcb and then route it manually using our makers.

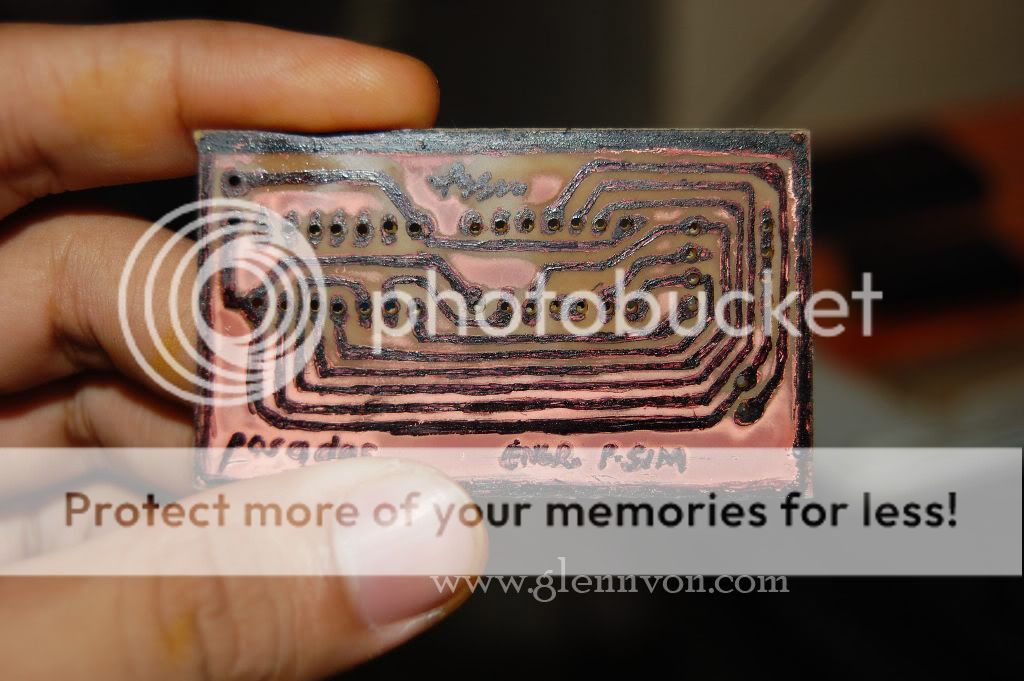
This is my drilled PCB(front view)
Next step:
"POUR SOME FERRIC CHLORIDE BABY!!!"

After pouring some ferric chloride, throw your pcb into the tupper ware baby! hahaha!~
AND SHAKE IT THOROUGHLY. If you won't shake it, then, nothing will happen I suppose. The ferric chloride won't dissolve your copper.

OOPS! Don't watch out! cause your marks might disappeared and so will the copper below such lines. In this case, get your pcb. Ferric Chloride won't kill you if you touch it, unless you put your finger into your mouth. lols. Put on some marks again and then throw it again into the tupperware xD. Don't forget to use your rag instead of your shirt. xD
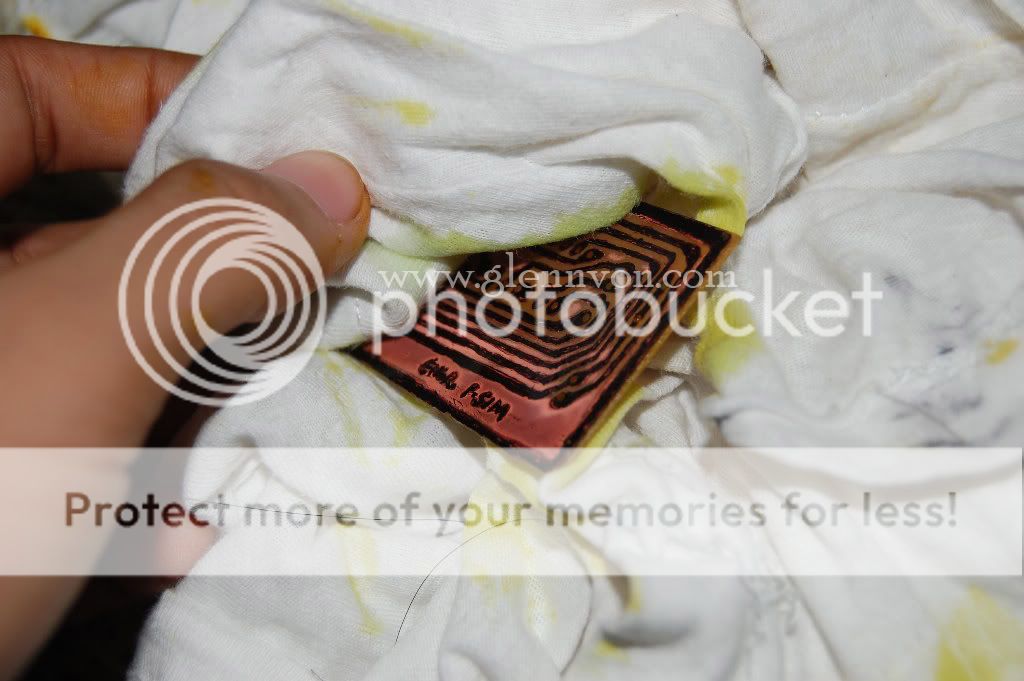
And after doing this step until all coppers without marks are gone, put some alcohol into your rag then rub it on your pcb.


(This is my design after etching. Half of the marks are gone :P thanks to isopropyl)

WE'RE ALMOST THERE!~ woohoo
Okay, finally we can now solder the ICs, and etc.. into our pcb
First, we need these materials in soldering:

1. Soldering Iron
2. Soldering Paste
3. Soldering ___ -lol I forgot the yellow thing in the photo.
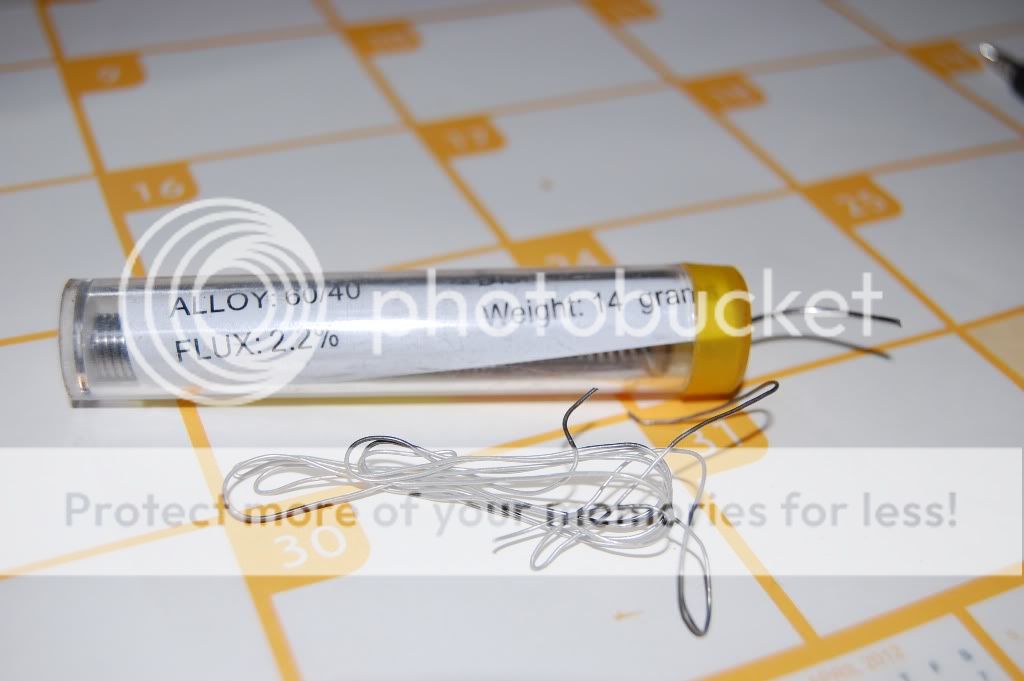
4. Soldering Pb - Soldering Lead. There are two sizes of lead I use. Well, I prefer the smaller one.
OOPS! By the way, You should have the STAND! oh yeah! Soldering Iron Stand.

AFTER ALL THIS STEPS! TADAAAAAAAAAAAAAAAAAAAAAN~~! HERE IS MY CIRCUIT!
ITS WORKING! :P No errors.


OH YEA~ ITS DONE!
Note: If your circuit has errors, then you should check:
1. The routing of your circuit (lol, I experienced it a while ago. And I was like fufufufufufuf )
2. The leads. (check em out nigga, you should clean your circuit)
3. The ICs and other materials.
4. The Power Source
Meanwhile...

My hand

OMG! WHAT HAVE I DONE? :PPPPP
That's all peeepeeeepepepepepeps~~~~!!!
-glenn
Don't Forget to bookmark this post!
Sharing is easy and sexy baby! Click LIKE!

Author: Glenn Posadas
20 year old 5th year Computer Engineering Student, a blogger, photographer, programmer, and an electronics hobbyist; a Christian who loves God very much..
Sharing is so Easy: | 
|


